 🔙 Back to Projects
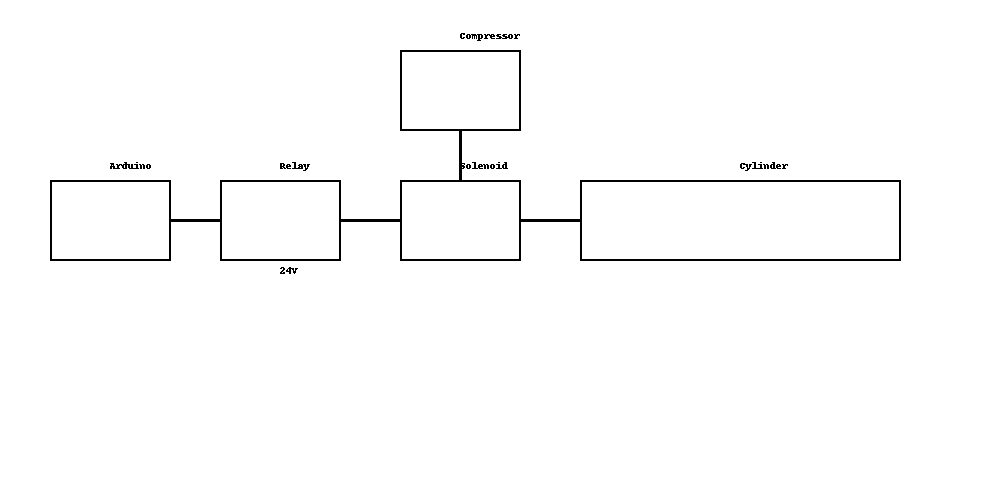
Simple blink sketch, powerful action. Learn how to control a pneumatic actuator using an Arduino, relay, and solenoid valve. This project uses minimal code and real hardware to make something awesome.
void setup() {
  pinMode(8, OUTPUT); // Relay control pin
}

void loop() {
  digitalWrite(8, HIGH); // Extend cylinder
  delay(1000);
  digitalWrite(8, LOW);  // Retract (spring)
  delay(1000);
}The Arduino runs a basic blink sketch to toggle the relay connected to a 24V solenoid valve. When the relay is HIGH, the valve opens and allows air from the compressor to extend the pneumatic cylinder. When the relay is LOW, the spring-loaded cylinder retracts automatically.